Operating the Remote
The previous section Setting up the Remote takes you through the steps for getting a mobile device connected to the console.

The app title bar shows the network connection status:
- green: good connection. The response time from the console is shown on the top right.
- red: you have a very slow connection to the console or have lost connection (response time more than 1 second).
- orange: you have a slow connection to the console (response time more than 250ms).
If you are seeing a red or orange bar, move closer or reposition your WiFi point so that you have a clear line of sight to it.
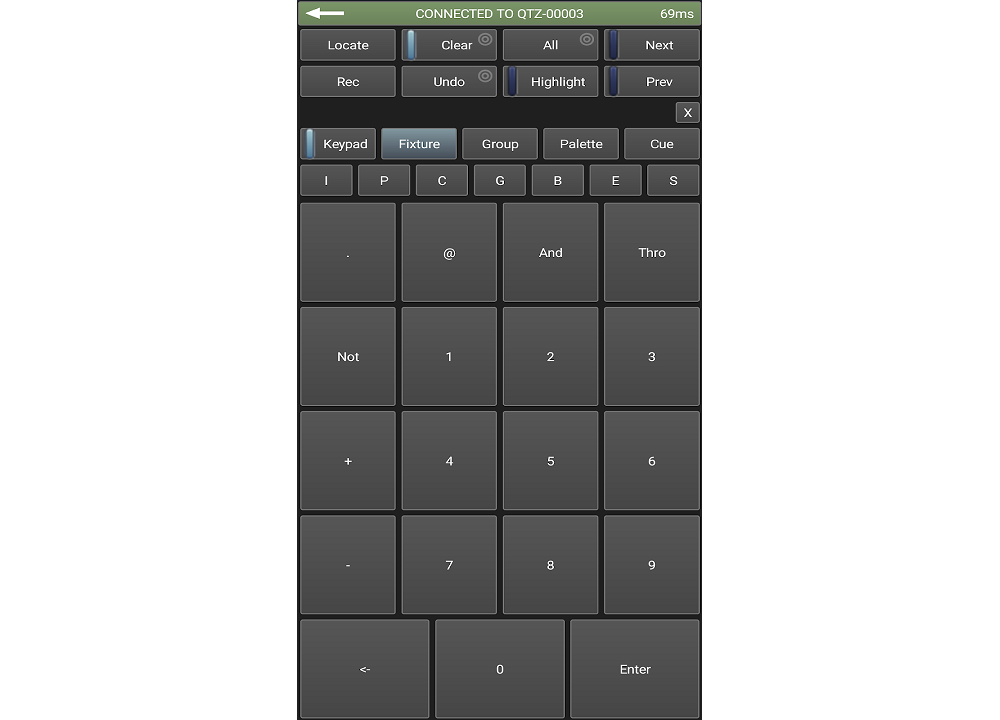
Choose what you want to control using the Keypad / Fixture / Group / Palette / Cue buttons near the top of the app. The Keypad button enables or disables the numeric pad (the keypad overlays some other screens, so you will need to turn it off to see the others).
Some buttons have a circle icon, this shows that holding down the button will give additional options.
The layout of the screen may vary depending on the screen size of your device. On tablets and devices with larger screens, you can see multiple windows at the same time.
Phones are locked to portrait mode. Android tablets will lock to the current orientation of the device when the app is opened. iPads can be rotated while in the app. The app will follow the dark/light display mode of the device.
Keypad
The keypad screen lets you do most common tasks in the way a programmer's remote normally works. You can turn on/Locate fixtures and dimmers either individually or together.

The User Number of the fixture or dimmer (as shown in the top left corner of the fixture button) is used for control. For example to turn on dimmer 3 at 50% you would press:
3 @ 5
To turn on dimmers 1-10 at 80% you would press:
1 Thro 10 @ 8
For 100% you just press @ twice, for example:
1 Thro 10 @ @
To Locate selected fixtures, press Locate instead of the @ button.
You can select multiple ranges of dimmers or fixtures using the And button, for example:
1 Thro 10 And 20 Thro 30 @ 6.
Selecting Fixtures
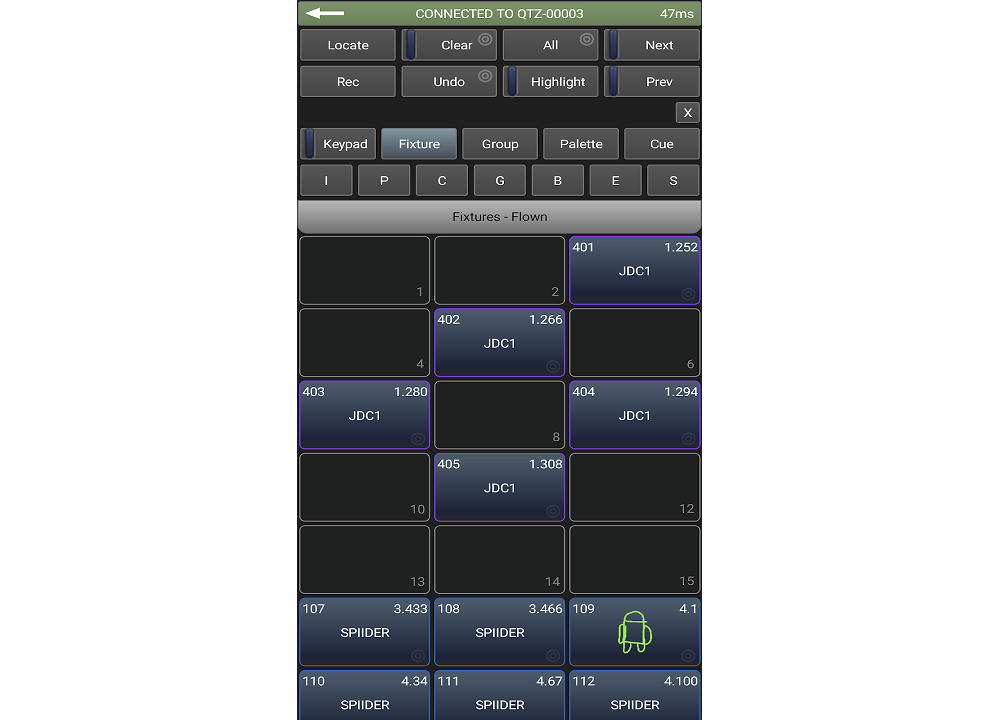
The Fixture or Group screen allows you to select fixtures exactly as you would on the console. If you have a lot of fixtures, it is much easier to use Groups and step through the fixtures using the Highlight, Prev and Next buttons. Press the All button to reselect all fixtures. Hold down the All button to step through various selection patterns (odd, even etc).

You can scroll the screen up and down by dragging the window. To view the fixture or group pages, drag the title bar of the window downwards.
Controlling Attributes with wheels
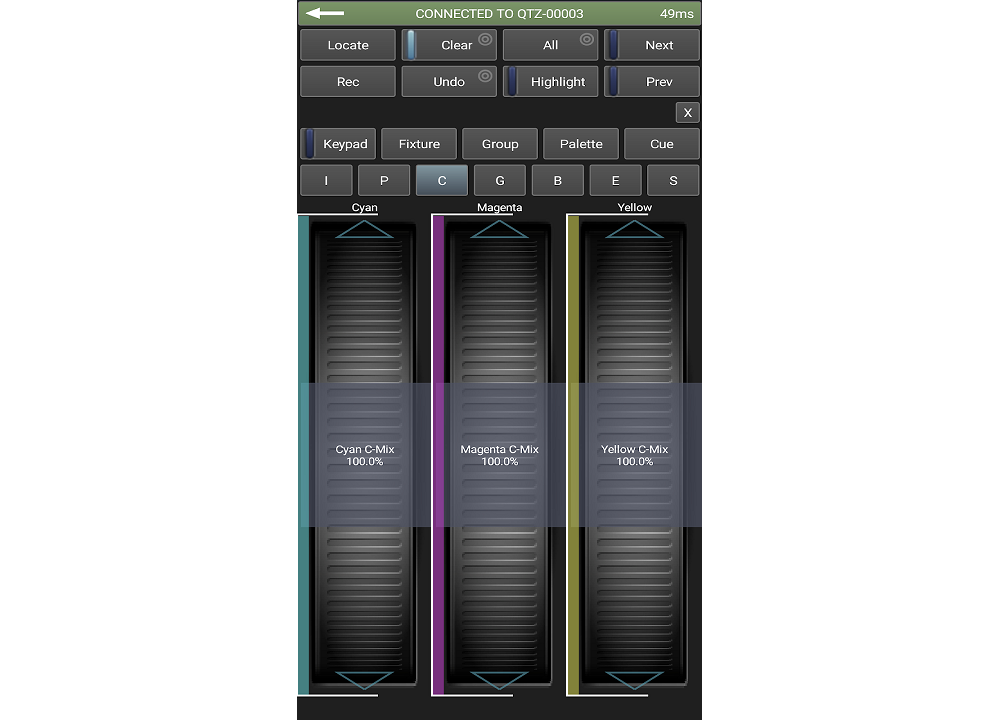
Use the IPCGBES buttons at the top to select the group of attributes you want to control, and scroll wheels will be shown for the available functions.

For continuous attributes like Pan and Tilt or Colour mix, you can adjust the wheels by dragging up and down, or the arrows on the wheels will go to 0% or 100%. You can "pinch zoom" the wheel to fan the attribute across selected fixtures (always uses Line curve for the fan).
For attributes with ranges like colour wheels or gobo wheels, the wheel will show the colour or gobo name. The up/down arrows will move to the previous or next range.
If there are more than three attributes to adjust, touch the appropriate IPCGBES button again to step through the other attributes.
Press the Clear button to clear the selection and all changes in the remote programmer. Hold down the Clear button to clear all programmers (for example if someone has been doing something on the console at the same time, this will clear the console's programmer too).
- When you have finished using the remote, press Clear to remove changes from the remote programmer, or your changes will continue to show on stage, overriding the console. You can clear remote programmers from the console by holding Clear on the console and selecting Clear all programmers. When another programmer is controlling fixtures, the attribute displays show a cyan dot.
From the remote's Cue screen you can play back cues from the touch buttons in the Playbacks workspace window. Hold down a playback button to kill or release an active playback.
- You can't play back cues from playback faders or executor buttons from the remote, if you want to do this, make a copy of the cue in the Playbacks window.
Recording Palettes, Groups and Cues
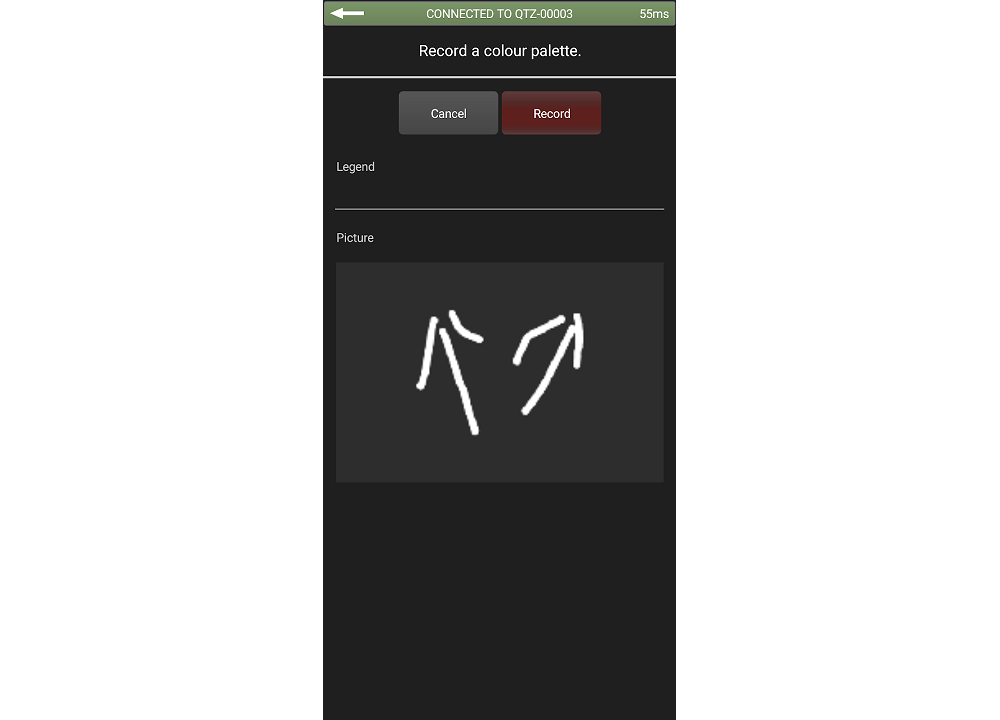
You can record palettes, groups and cues using the Rec button on the remote, then click a workspace button as normal. You can also hold down an empty button to quick record.
When you record an item you can set a text legend or a picture legend. You can hold down a button to edit its legend.

If you record to a used palette button, you are given options on whether to merge or replace the palette.
When recording cues, the Record Mode (Record By Fixture, Record By Channel etc.) currently set on the console will be used.