TNP Slave Mode
Normally the TNP screen shows the "Home screen" which displays the connection status and IP address of the two Ethernet ports on the device. Buttons across the top allow you to configure the device. The
Exit button always takes you back to the previous menu.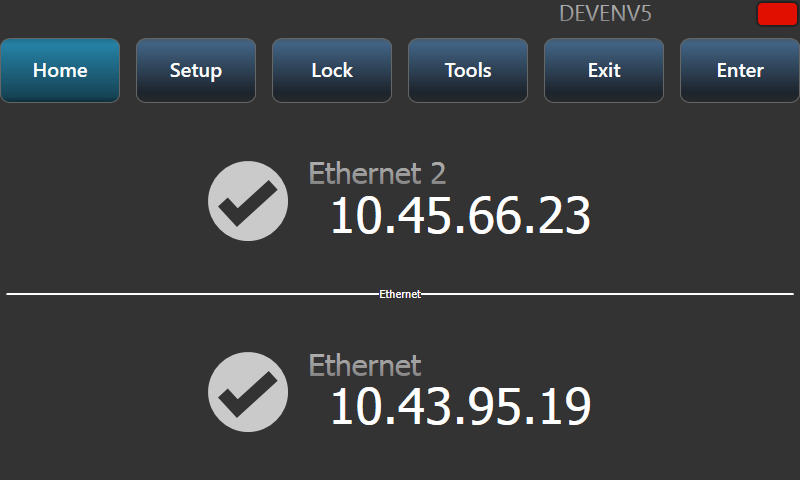
Setup
The setup screen allows you to configure network port settings, and node settings for the overall device by touching "Network Settings" or "Node Settings".
For Network Settings you first select which Ethernet port you want to configure

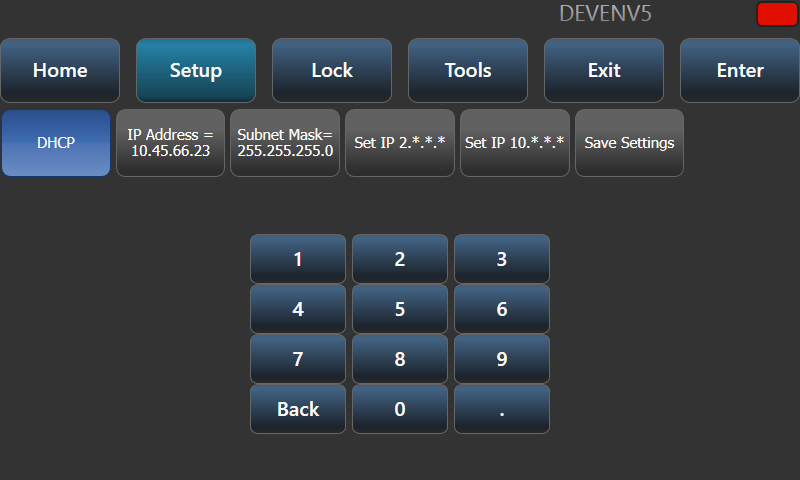
You can then enable or disable DHCP, set IP address and Subnet mask using the number buttons, or set a fixed (automatically generated) 2.*.*.* or 10.*.*.* IP address.
Touch the "Save Settings" button to store your changes.
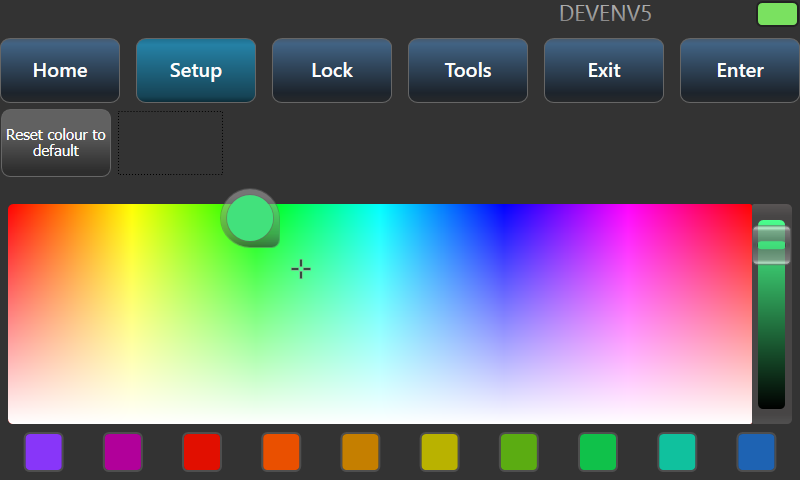
For Node Settings you can change the legend of the device and the line colour. This is shown on the top line of the device and on all TitanNet pages on connected devices. It helps you identify the device when you use the TitanNet overview on the console.
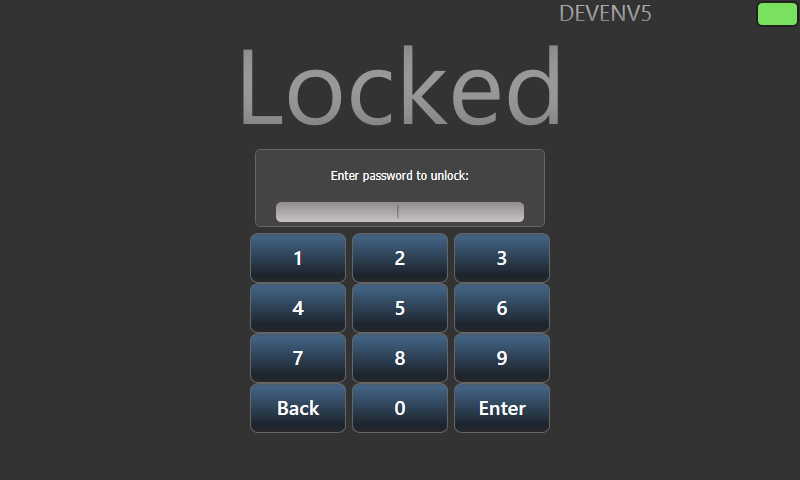
Locking the TNP
The Lock screen displays a keypad and asks you to enter a lock code. When the device is locked, the screen shows "Locked" and shows a keypad to unlock.
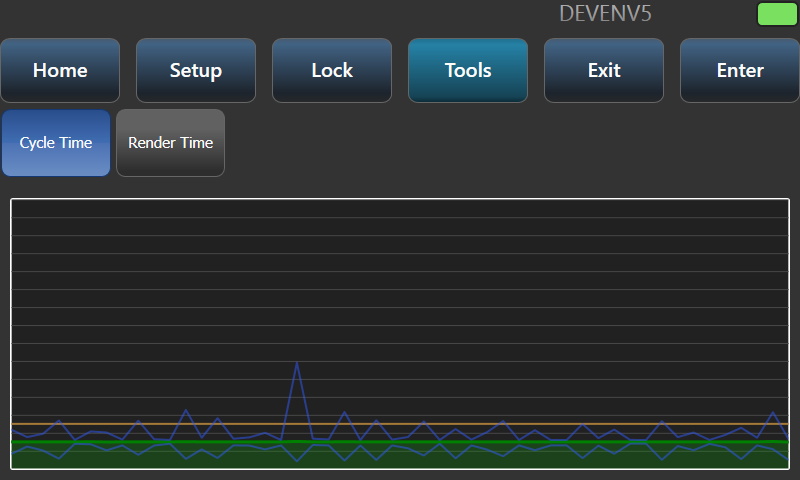
Tools
Currently there is only one option on the Tools screen, "Monitor". This allows you to monitor the processing load of the device. You can select to monitor either cycle time or render time.