Useful functions
Titan has many features to make it easier to run your show or event.
Back up the show
At regular intervals while you are programming, and when you have finished programming (or you've run out of time) and it's show time, the most important thing is to save the show. It is wise to also make a separate copy of show by saving it to a USB drive, enabling you to swap to a different console if there are problems.
Label the console
When you are running your show you will need to know where everything is. Most handles have an associated display area for you to use the Set Legend function (see Legends and picture legends ), or you can't beat the low tech method of marker pen and tape.
Saving screen layouts using Workspaces
You can save different Workspaces which store the layout of the various windows displayed on the console screen(s). This allows you to quickly recall different setups. Workspaces are stored and recalled from the touch buttons to the left of the menu buttons (or down one side of the screen for Diamond 9, Sapphire Touch, Titan Go, and on external screens). You can also store workspaces to any executor button on the console.
Workspace buttons can recall a screen layout for each individual screen, or can reconfigure all screens with a single button press.
Double press Open/View to show the window select buttons. See Saving workspace layouts for more details about saving screen layouts using the Workspace buttons.
You can also create a Set List which will automatically recall a workspace layout for each song.
Locking the console
The console controls can be locked to prevent unwanted tampering with it while you're not there. You can set a background image to show while locked. You can also show a workspace when locked to allow basic controls for non-technical staff, this is called Venue Mode.
While the console is locked, all functions are disabled except the DMX outputs and currently running playbacks.
- Hold down Avo
- Press
- Type a password (numbers from the keypad, or letters if you have a keyboard connected).
- Press
- To unlock, enter the same password again.
After a few seconds, the "Enter password" prompt will fade out from the lock screen but will appear again if you press buttons or touch the screen.
You can set a saved Programmer Password, to save typing a password each time, by pressing Set Saved Password at step 3 (you can also set this from the Lock tab of User Settings). If you have a Programmer Password set then you can skip step 3 and just press Avo to lock the console.
You can always unlock the console using the Avo master code "68340".
Locking / password does not protect or encrypt your show file in any way. This is just a simple operational lock to prevent unwanted tampering with the controls on the console.
Setting a background image for Lock screen
You can set a background image for the lock screen from the Lock Screen Background option in the Lock tab of User Settings (hold Avo, press User Settings). The image can be either loaded from a picture file (using the folder tab of the image selector) or drawn using the touch screen.
If you load a picture file, the softkey Scaling Mode sets how the picture will be scaled to fill the screen:
- None: Image is displayed 1:1
- Letterbox: scales the image until it fills either the width or height of the screen, leaving black bars on the other edges of the screen.
- Fill: scales the image until it fills the whole screen, keeping the aspect ratio
- Stretch: scales the image until it fills the whole screen, ignoring the aspect ratio
The Clear softkey will remove the image.
To fill the screen without scaling, the background image needs to be sized as follows:
| Console | Screen |
|---|---|
| D9 (-330 / -215) | 1920 x 1080 |
| Sapphire Touch | 1366 x 786 |
| Arena | 1366 x 786 |
| Tiger Touch II | 1366 x 786 |
| Quartz | 1280 x 800 |
| TNP | 800 x 480 |
Setting a Venue Mode workspace for basic controls while locked
You can designate a workspace to be displayed on the screen when the console is locked, this is called a Venue Mode workspace. This lets you provide a selection of playbacks or other controls on the lock screen, allowing basic controls for non-technical staff when the lighting operator is not present.
- Save a workspace to be used for Venue Mode showing only the controls you want to be accessible (for example use the Playbacks window to provide buttons to turn on a basic lighting state, or the Virtual Faders window to give more control.)
- Go to Venue Mode Workspace in the Lock tab of User Settings (hold Avo, press User Settings) and select your workspace from the list on the softkeys.
- Lock the console as described above. The workspace you selected should be shown.
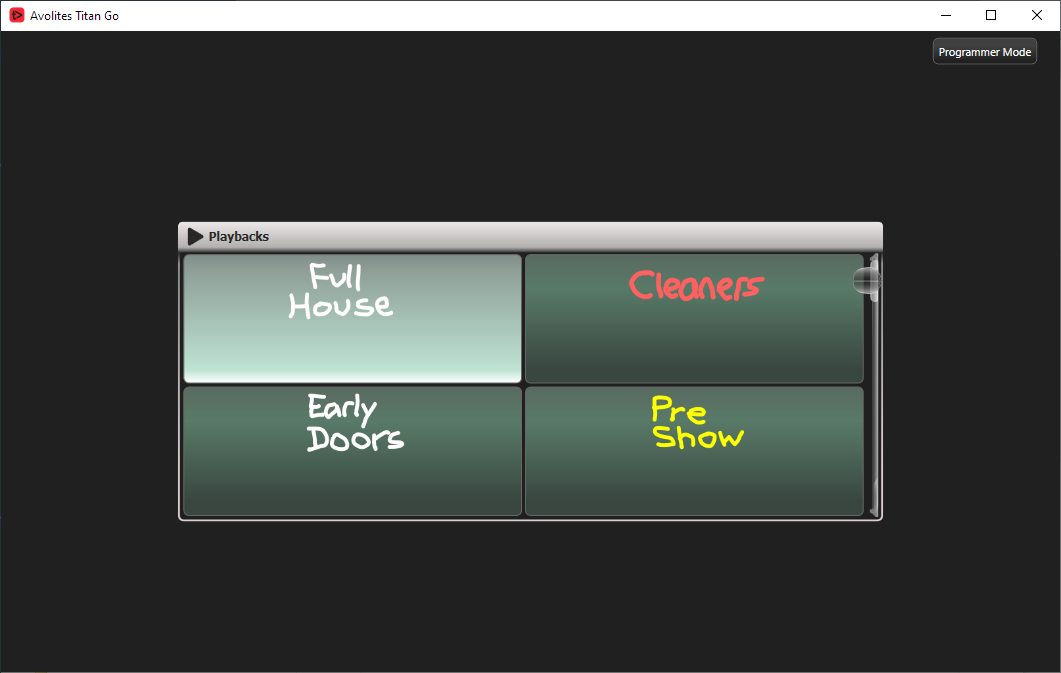
- To unlock the console into normal mode, click the Programmer Mode button at the top right of the screen and enter the password you used.
All hardware controls are disabled in this mode. Only the following workspace windows will show:
- All Handle Windows (Colours, Playbacks, Media, etc.)
- Active Playbacks
- Audio Triggers
- Capture Visualiser
- Channel Grid
- DMX
- Event Log
- Intensity View
- Pioneer DJ
- Pixel Map Preview
- Playback Groups
- Timecode Windows
- Video Multi View
- Virtual Faders
Fixture selection is disabled, but quick palettes will still function.
Using the Lock on Startup setting in the Lock tab of User Settings you can configure what lock mode the console will power up into, so you can ensure that staff can gain an appropriate level of control even if the console was not powered on, or was not turned off in a locked state. If you set the console to start up in a Locked state, you need to also set a Programmer Password to be used.
If the console is in a publicly accessible location you can also lock the venue mode screen using the Venue Mode Password on the Lock tab of User Settings. To lock the screen press in the top right hand corner. This will show the normal lock screen. When you unlock using the Venue Mode Password, the console will go back to showing the Venue Mode workspace. This allows venue staff to be able to secure the console without having full programming access.
Tidying the console with the Move function
If the layout of the fixture buttons, palettes or playbacks has become a bit mixed up during programming, you can use the Move function to move recorded items around and produce a better layout. When an item is moved, all links to other recorded items are retained.
- Press Move to select Move mode (if the console does not have a Move button, you can get this function by holding Avo and pressing Copy ).
- Press or touch the Select button(s) of the item(s) to move.
- Press or touch the Select button of the destination.
When moving a range, it is possible to select a range containing different types of items, and there can be gaps between them. If you want, you can set Bunch Up mode to have all of the gaps in the range removed.
Swap Items if Required will attempt to reposition any existing handles which are in the way of the move. This is useful when rearranging handles on a page which is nearly full.
If there is not enough space, (there is an item in the way or there is not enough space before the end of the page) then the action will not be completed.
Press Latch Menu to keep Move mode active if you have a number of things to move around.
Blind mode
If you want to program palettes or cues using the visualiser (or in your head) without affecting the look on the stage, you can set the console to Blind mode. Just press the Blind button (on consoles which don't have a dedicated button, hold down the Avo button and select Blind). While in Blind mode, changes on the console will have no effect on the stage but active playbacks will continue. The Blind button will be lit and the console will show BLIND MODE in the status display area.
To return to Live mode, press Blind again.
You can preview a playback on the visualiser without affecting the stage by setting the playback into Blind mode - hold the Blind button and press the playback select button. Repeat this to restore the playback to Live mode. You can also set Blind mode in the playback's Options.
You can convert the Blind output to the Live output with a fade. This is useful to set up a live state in blind mode then output it without having to save to a playback. It also allows you to select multiple palettes then fade to them all at once - though Scene Master is probably a better way of doing this.
To convert blind to live, type a number to set fade time then press the Blind button.
- If any attribute fade times have been set in the programmer, these will be used instead of the fade time you type.