Other Parts of the Touch Screen
The Menu/Softkeys
On all consoles except Diamond 9, the right hand side of the main touch screen is used for the main menu display. These are known as the "Softkeys" and are lettered A-G. On the Diamond 9 there is a separate Menu touchscreen for the system prompt and the menu softkeys to the left of the right-hand screen. (Pearl Expert also has a separate display for the menu.)
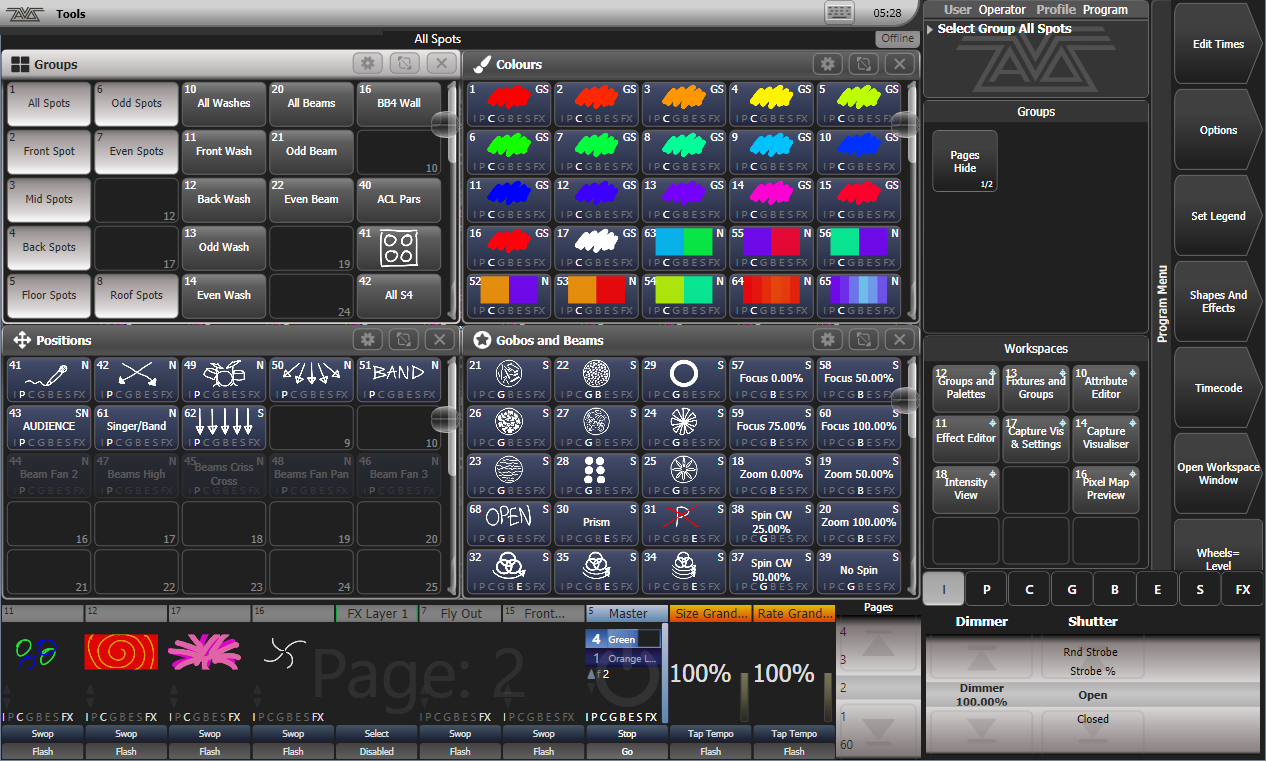
If there are more functions than will fit on one screen, Previous and Next buttons are provided to page through the functions. You can either touch the key on screen, or most consoles provide real buttons next to the screen.
The vertical bar to the left of the softkeys shows you which menu you are currently in. You can 'latch' the menu to keep the current command active (so that you don't have to keep reselecting it) by pressing the Menu Latch button (ML Menu on Pearl Expert & Tiger Touch 1). The menu bar turns red when latched. This is useful for example when copying or moving playbacks to rearrange the console.
The area to the top left of the menu buttons with an Avolites logo in the background is the system prompt area which shows instructions to the user and information from the console. The last commands you used are also shown here, for use with the Undo function. On the Diamond 9 this is displayed on the Menu screen above the menu softkeys.
On the screen above the control wheels, the current function of the wheels is shown on a simulated roller. If fixture attributes are being set, this shows the possible settings which are available on the fixtures. Above the roller image a legend shows which attributes are being controlled by each wheel and the centre of the roller shows the current attribute. Touch the upper or lower segment of the roller to set the attribute to maximum/minimum.
If a chase is being controlled, information about the chase is shown here.

Next to the roller display, the screen shows which attribute group (IPCGBESFX or Intensity, Position, Colour, Gobo, Beam, Effect, Special, FX) is selected (grey box) and which are currently modified (blue circle).
The appearance of the softkeys varies to indicate the type of actions available:
| Appearance | Meaning |
|---|---|
| Action button - console will carry out the action shown | |
| Option button - cycles through a range of options | |
| New menu button - jumps to a new menu | |
| Text entry button - press and enter text using the touch keyboard |
The Toolbar
On all consoles except Diamond 9 and Sapphire Touch, across the very top of the screen is the toolbar.
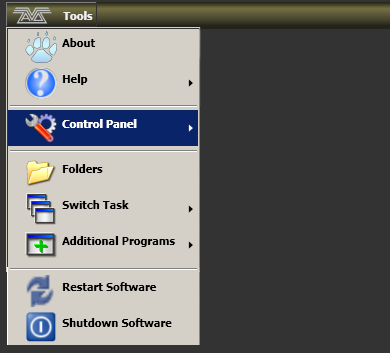
On Sapphire Touch the toolbars are shown vertically where the 2 screens meet in the middle.
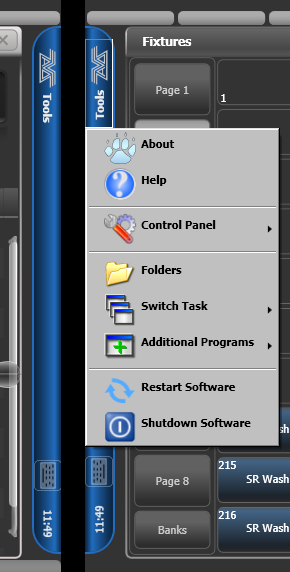
On Diamond 9 the toolbar is replaced by a small Tools button at the top left of the right hand touchscreen. There is also a Tools button on the pull-out keyboard.

If you click/touch on 'Tools', you will get a menu giving you access to some configuration functions (these options may change slightly depending on the console).
About gives you information about the software version.
Help shows you the online manual.
Control Panel opens a submenu allowing changes to monitor settings and to the USB expert console which links the front panel controls to the system. The 'More...' option opens Windows Control Panel allowing you to change the operating system configuration.
Touch Screen Setup (in Control Panel) opens the setup utility which allows you to align touch positions on the screen.
USB Expert Console (in Control Panel) sets up the connection between the front panel controls and the software. If you are having problems this can be used to troubleshoot.
Folders opens the file explorer. You might need this when backing up show files or when updating the operating software.
Switch Task allows you to show other programs (may be needed when upgrading software) on the touch screen or move them between screens. Touch the Switch Screen icon to swap the program between different screens. Touch the Centre icon to centre the window on the screen. Touch Close to close the program. The appearance of this window varies depending on the console.

Switch Software allows you to run different versions of Titan software (which you will need to install yourself, different versions are not installed by default). This can be useful if you need to load shows from older versions.
Additional Programs allows you to run some diagnostic programs which might help Avolites Support find problems you're having.
Restart and Shutdown Software restarts and closes the Titan software. You would normally only need to use these when upgrading the software.
The toolbar also has a keyboard button allowing you to pop up the touch keyboard. On Diamond 9 there is a button Keyboard for this.
Toolbars are not provided on Titan Mobile or Titan Go as all these functions can be carried out using standard Windows operations.
The Heads-Up Display (HUD)
The HUD window shows details of what's stored in all the handles (faders and buttons) on the console.
Fixtures are highlighted in dark blue if in the programmer and in light blue if selected.

Visualiser
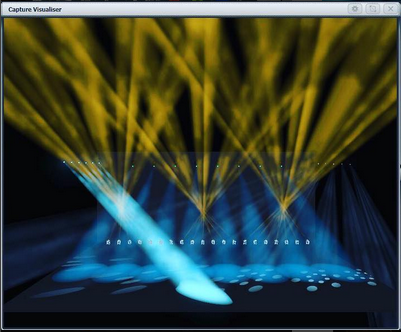
Capture visualiser is integrated into Titan from v10. The Capture Visualiser chapter deals with how it works.
The visualiser gives you a realistic view of the stage, allowing you to pre-program or make changes to your show at home or in your hotel. It can also be used in Blind mode for programming during a show.
Undo/Redo
A short list of recent actions is shown in the prompt area to the left of the menu.
You can undo and redo recent actions (including fixture and cue changes) by touching the prompt area. This will automatically open the Undo History window which shows a more detailed list of actions you can undo.
The current action is shown in red in the Undo window and in bold in the prompt.
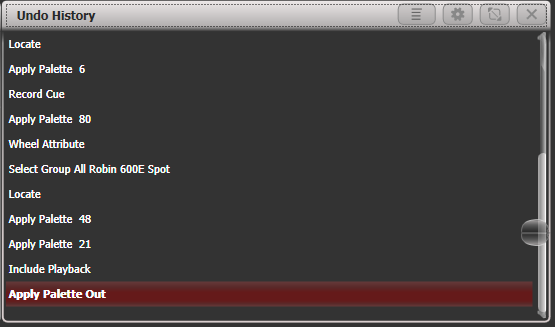
You can touch this window to undo all actions up to the one you touch. Once actions have been undone they are shown greyed out, and can be redone by touching them.
You can also use the Undo and Redo buttons (not on all consoles) to step through the list.
Some actions cannot be undone which is indicated with the "not allowed" symbol as shown below.
If you are in multi-user mode, the Undo History can show a column for each user with undo points for that user - open the Context menu and select Show All Users and Consoles. The default setting is Show Only Current User.