Layers

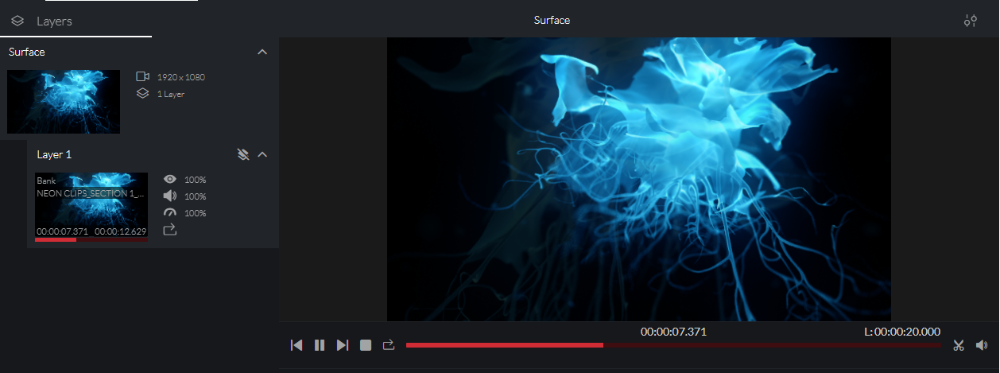
This section is made up of:
- The surfaces and their layers, with their layer previews
- The selected layer / surface mix playback
Media can be played on specific / multiple layers, blended together using the intensity sliders and can create simple mixes adjusting their volumes.
Note: when using multiple layers, performance may vary on different systems
Surfaces & Layers
Surfaces and their layers, can all be managed in the Stage view where layers can be added, removed, reordered and renamed.
Surface
A surface refers to the virtual canvas or area where visual content is projected or displayed.
It can represent screens, LED walls, projection surfaces, or any other output device.

The surface is crucial as it defines the spatial parameters and resolution of the visual content. Users can map their media to the surface, adjusting the placement, scaling, and transformation to fit the physical display precisely.
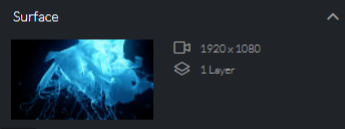
The surface information card shows the following informations:
- The surface mix preview
- The surface resolution
- The number of layers
It is possible to minimise and maximise the information card in order to hide or show the contained layers.
Layer
A layer is a canvas that contains visual content, such as videos or images. Multiple layers can be stacked and manipulated independently, allowing for complex compositions.

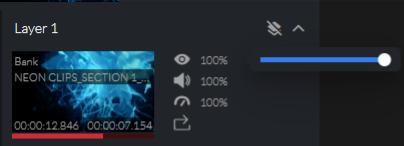
The layer information card shows the following informations:
- The layer preview. This comprises of an overlay showing media bank location, filename, duration and remaining time
- Visibility button and intensity slider
- Mute button and volume slider
- Speed slider
- Play modes
- Clear layer button
- Solo button
It is possible to minimize and maximize the information card in order to have a more compact view of all the layers.
Note: when minimized the speed slider and the play modes will be hidden.
Controlling the Layer
The layer has some controls, which can adjust the layers in real-time.
| Feature | Description |
|---|---|
| Visibility | Toggle the visibility icon to hide and show the layer |
| Intensity | Click on the % value to open a slider, this sets the opacity of the layer |
| Mute | Toggle mute will mute / unmute the audio from the layer |
| Volume | Click on the % value to open a slider, this sets the volume of the layer |
| Speed | Click on the % value to open a slider, this sets the speed adjustment of the layer |
| Play Modes | Click on the Play List, Loop, Shuffle, Play Once, , In Frame, Out Frame, button to open the play mode selection. Clicking on a play mode icon will select that play mode and update the button icon |
| Clear Layer | Click on the Clear Layer button to reset the layer |
| Solo | Click on the Solo button to solo this layer. This will be the only layer present in the surface mix |
Users can also control each layer's options via the UI or Synergy control.
Both methods affect the layer properties directly, but also can be overridden by the bank element, depending on your preferred result, as discussed on the Preview page.
Playback
Surface Mix
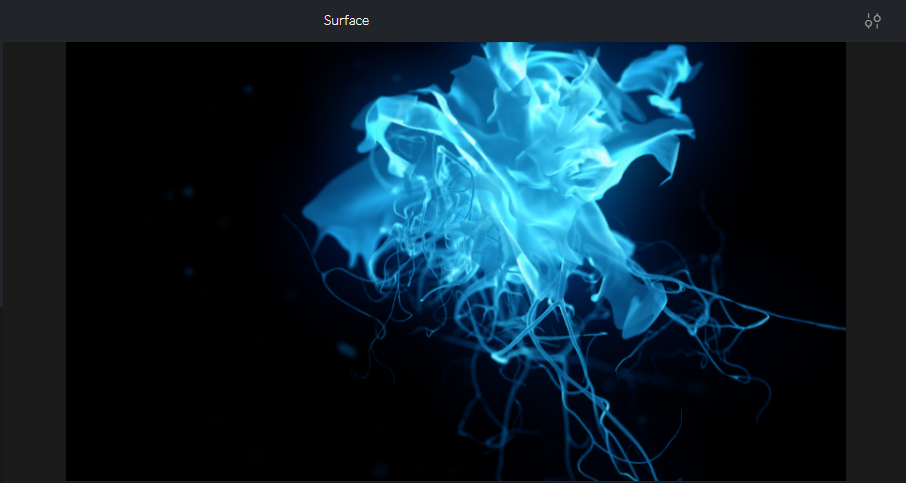
This area will show the surface mix of all the layers together.

Play Bar
Similar to Prism Player's media player play bar, the standard play controls are available.
In Prism Zero the playbar will activate once a layer is selected, as this serve a purpose of controlling the layer playback.
Hover the mouse over the bar and a seeking indicator will appear for you to drag.
Toggling the Trim icon reveals the trim feature.
Trim Bar

The trim is set on the layer properties, but can also be override by the bank element via the Preview Window.
Moving the sliders will set the Trim In and Trim Out points.
Clicking on the Trim icon will confirm the newly set trim points.
Clicking on the Cancel icon will cancel the changes to reset back to the previously set trim points.
Note: Double clicking on the IN and OUT timecodes allows for editing of trim points, for more accuracy.