Workspace Windows
The main area of the screen contains the workspace windows. These contain buttons and controls for selecting fixtures, groups, palettes, and playbacks, for controlling fixture attributes, showing cue lists, or the visualiser - in fact there is a workspace window for every feature of the console.
The windows can be freely arranged and each monitor can have its own arrangement of windows. You can save different layouts to the Workspace select buttons which allows you to instantly reconfigure the console for different tasks. The saved layouts can change just the monitor they are on, or all monitors together.
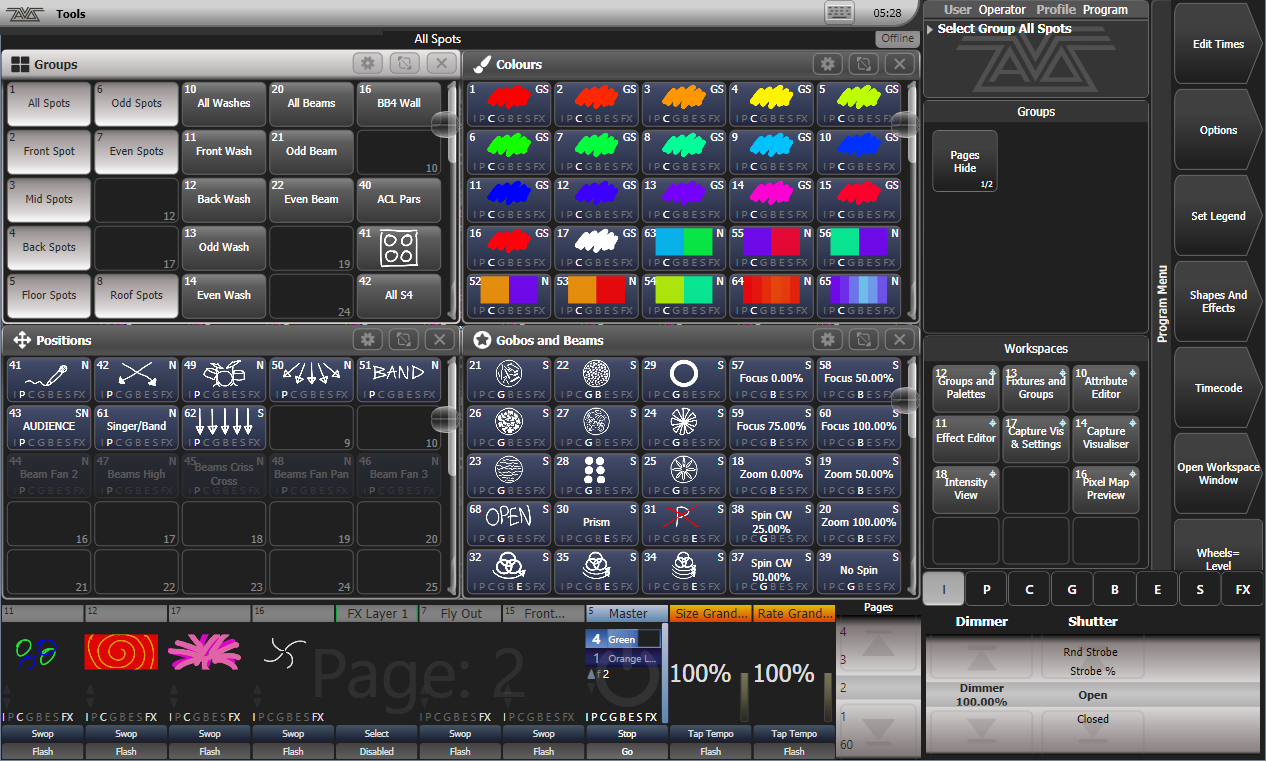
The picture below shows a typical arrangement of workspace windows.
Opening and Positioning Workspace Windows
Double press the Open/View button to show the workspace open buttons overlay on all monitors. On the monitor where you want the workspace, press the appropriate button and the window will open on that monitor.
The Open/View button is labelled differently on some consoles:
Diamond 9: View. There's an additional Open button which is the same as double pressing View.
Quartz, Titan Mobile: Open
Titan Go, Tiger Touch 1, Pearl Expert: View
![]()
If the window was already open on a different monitor, it will move to the monitor you selected keeping the same size and position.
You can also use the Open Workspace Window menu command on the root menu to show the workspace open buttons. Pressing Open/View again will close the workspace button overlay, or pressing the at the top of the button overlay on any screen will close it on all screens.
There are also button shortcuts to open some of the windows:
Shortcuts to Open Workspace Windows
- Open/View then an Attribute Bank button opens the Palette window for that attribute.
- Open/View then Patch opens the Patch View window.
- Open/View then a fixture select button opens the Fixture View window showing patch details for that fixture.
- Open/View then Connect/Cue opens the Playback View window.
- Open/View then Off opens the Active Playbacks window.
- Open/View then Macro opens the Macro window.
Changing window size and appearance
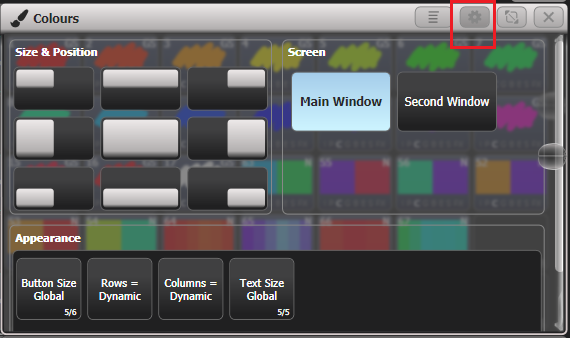
At the top right of each workspace window are three or four buttons which access other functions for the window.
The Window Appearance Options button ( button) lets you select the standard window sizes and positions (top left quarter, top right quarter etc.) Buttons are also shown allowing you to set the button size and the text size of the buttons in the window, and move the window to a different monitor. The Appearance options may vary depending on which window it is, the setup of the console and if you have any external monitors. The Rows / Columns buttons allow you to control how buttons are arranged, see Controlling Button Layout/Grid.
The button allows you to set adjustable window sizes. A grid screen will open.
With the softkey Edit All Windows set to Off, you just set the size of the selected window.
Touch and drag the top left or bottom right corners to resize the window. Touch and drag anywhere else to move the window.
Tap on a corner to set a start corner position - the window will highlight in red and ask you to tap to set the opposite corner position.
If the softkey Resize Neighbours is set to On, surrounding windows will resize to make room for the window you are editing. If Off, the other windows will stay the same size and go behind the current window.
If Edit All Windows is set to On, corner arrows will appear in all windows and you can adjust the size of all the windows together. Press Enter, Exit or OK to finish.

If you accidentally set a window to a single grid size, you can't then get to the Window Layout button to resize it. Select the window and use the Min/Max softkey to set the window to a fixed size.
You can move the active window between screens from the Window Appearance screen, or by pressing View then Window Options then Move Screen, or hold Avo and press the Size & Position button.
You can close the active window using the Close button (not on all consoles). You can close all windows by pressing Avo+Close, or use the Close All softkey.
Context Menu Buttons
On all consoles apart from Sapphire Touch and Titan Go, context menu buttons appear which contain useful functions for the current active window and change depending on the window.
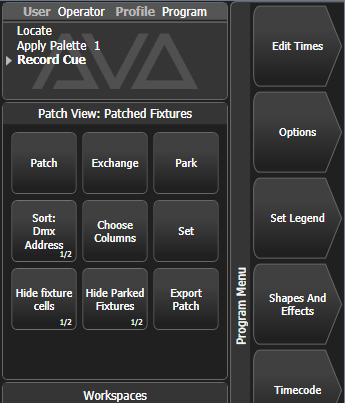
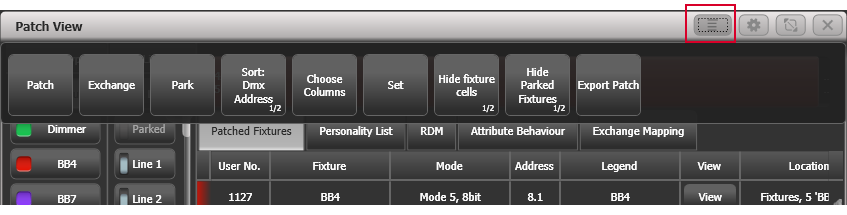
On Diamond 9 the context menu buttons are in the top left hand corner of the right hand screen - on all other consoles they are below the prompt area on the top right of the main screen. The picture below gives an example of how the context buttons appear when Patch View window is active.
On Sapphire Touch and Titan Go the context menu buttons are not shown on the main screen, each window has a button in the top window bar, which gives a drop down menu showing the context menu buttons for the current window.
Controlling Button Layout/Grid
Buttons normally resize automatically to suit the screen size and resolution, however this means that moving shows between different consoles or different screens can make the number of rows and columns change, causing buttons to move around. If you have set a particular layout you want to keep (for example if you've positioned fixtures in the window to match the layout on stage), open the Window Appearance menu using the button and set Button Size to Button Size Set Rows & Columns. You can then set a fixed layout using the Rows and Columns buttons.
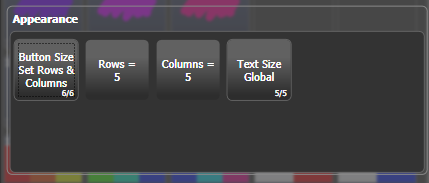
The Rows and Columns settings are remembered even if you change the button size back to one of the automatic sizes, which allows you to swap between auto and fixed button size modes.
Saving Workspace Layouts
You can save workspace layouts, allowing you to reconfigure either all the windows on one screen, or all the windows on all the screens, at the touch of a button.
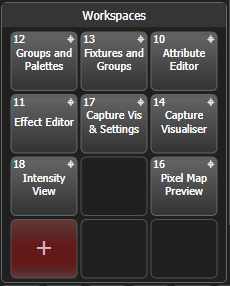
Workspace layouts are saved to the Workspaces touch buttons to the left of the A-G menu buttons and above the wheel displays (except on Diamond 9, Sapphire Touch and Titan Go where they are on the left side of the screen).
External screens can have their own workspace buttons down the side of the screen (these can be turned on or off in the User Settings .)
To record, press Open/View then Record Workspace, then touch one of the Workspaces buttons, or just touch an empty button twice to Quick Record. You can also save workspaces onto any grey handle or macro button.
When saving and loading workspaces, it's often useful to be able to set how existing windows will behave if you load more windows, and to be able to target particular windows to a certain screen on the console.
- Record Visible/All Windows lets you set whether the workspace will contain only the windows which are currently visible, or will also include any windows which are hidden underneath other windows (this option is not available when using Quick Record).
- Remove/Leave other windows on recall sets whether all other windows will be closed when this workspace is recalled. If set to remove, the Workspace button will show an in the corner.

- Screens= sets whether the workspace layout will record all the screens, or individual screens (you can select or deselect each screen).
- Recall as Recorded / Where Selected only appears if the Screens option is set to record only a single screen, and sets whether the workspace will recall onto the screen where you recorded it (button shows S + the screen number), or if it will recall onto the screen where you selected it (button shows a target symbol in the corner).

To delete a workspace button, press Open/View, Delete, then the workspace button to be deleted.
When recalling a workspace, if you press Open/View first then softkey buttons let you set the workspace to recall to the particular screen where it was recorded As Recorded, or to a different screen (the other screen numbers are listed on softkeys). This is useful when a workspace contains only a single screen, allowing you to recall it onto a different screen.
Screen numbering
On consoles with a single internal screen, that is (1) and the external screen is (2).
On Diamond 9 the right main screen is (1), middle is (2), left (not D9-215) is (3), Editor screen is (4), Video preview screens are (7) (6) (5), external screens are left=(9) and right=(8).
On Arena the main screen is (1), the mini screen (2) and the external screen (3).
On Sapphire Touch the right main screen is (1), the left main screen is (2) and the external screens are (3) and (4).
As an example of setting up a workspace, suppose while programming you wanted to be able to access fixtures, position palettes, fixture attributes and shapes:
Double press the Open/View button, or press Exit to get to the root menu and then the Open Workspace Window menu softkey.
Find the Fixtures icon on the screen and press it.
If the window is not in the top left quarter, press the Size & Position button (above the numeric keys) until the window occupies the top left quarter. Or press the button on the window top bar and press the top left position button in that window.
Double press Open/View again and select the Positions window. Press the Size & Position button to position it in the desired location.
Repeat to activate the Attribute Editor and Effects windows.
Press Open/View then Record Workspace, or hold Avo and press Open/View. Type in a name for the workspace. Then touch the Workspace button where you want to store this workspace layout. Or, you can use Quick Record -- just touch an empty workspace button and it will turn red with a +. Type a name for the workspace and touch again to store it.
Quick Record
Some windows - Groups, Workspaces, and all the Palette windows - have a Quick Record function. Set up what you want to record, then touch or click an empty button once. The button will light up red with a + sign. At this point you can enter a legend. Touch or click again to store the item.
The Quick Record function can be disabled for a particular button type using Key Profiles.
For palette buttons, the quick record function works slightly differently to pressing followed by the button because a mask is automatically applied. See Storing a Palette.
Legends and Picture Legends
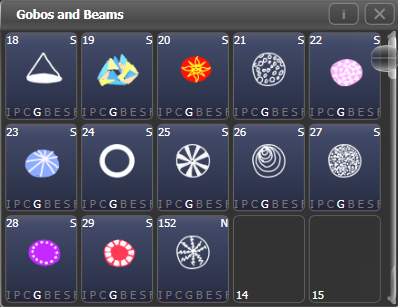
All touch buttons can have legends set to remind you what they do. In addition, you can draw picture legends on the buttons. To do this, select Set Legend then press Picture. A drawing space will open on the touch screen for you to draw the legend. There is also a library of pictures to choose from including popular gobo designs.
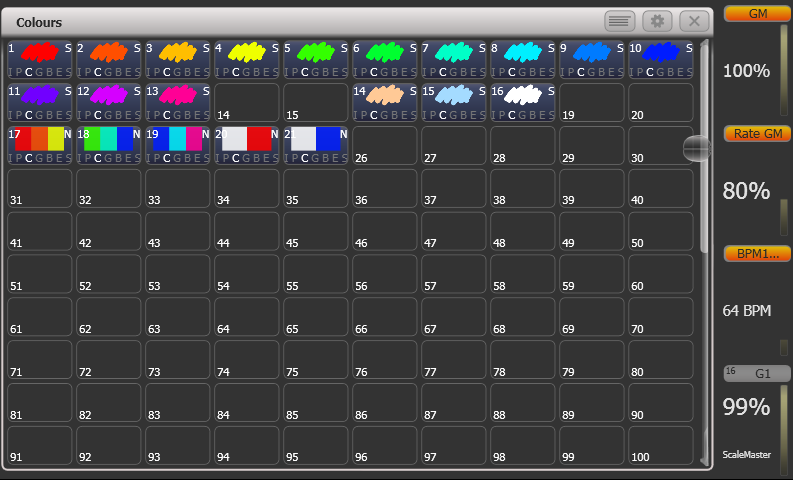
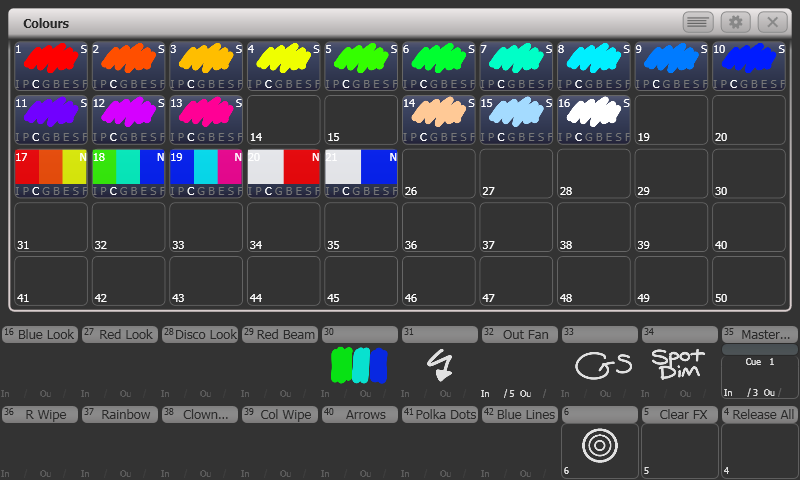
Colour palettes will automatically create a picture legend showing the colour(s) in the palette when you save it. Gobo palettes will show an image of the standard gobo, if the fixture personality has this information in it.
Button Halo
You can set a custom coloured halo for fixture, group, playback or palette buttons. This can be really useful for identifying different types of button at a glance. Select the Halo option on the Set Legends menu.

If you set a halo on fixture buttons, the halo colour is also used in other windows; fixture buttons can also have an automatic halo to help identify different types of fixture, which is also used in the patch window.
On the Diamond 9, the halo colour set on playbacks is used in the level bargraph lighting and the playback indicator.
Touch Keyboard
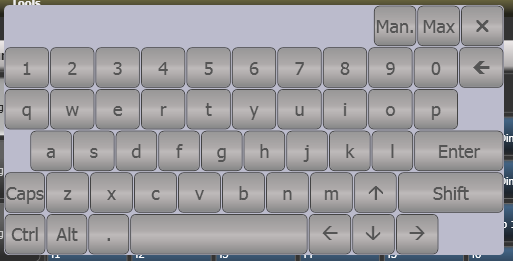
At the end of the toolbar is the keyboard popup button which will open the touch keyboard.

The touch keyboard can be switched between large and small size using the Max/Min button and you close it using the large button in the top right hand corner. You can also move it on the screen by touching and dragging the blank area of the keyboard at the top.
If you want the keyboard to pop up automatically when text input is required, set the Man/Auto button to "Auto". This setting will stay active until you change it back to "Manual".
The small version of the keyboard (pictured) does not have some of the less frequently used buttons.
Trackball (Diamond 9 and Sapphire Touch only)
The trackball on the right of the console can be used either to control the mouse pointer on the touch screens and external monitors, or to control fixtures.
To use in mouse mode, hold the Assign button below the trackball and click the \'Left\' mouse button. The trackball will then control the mouse pointer and the ring will scroll windows up and down.
To use in console mode for controlling fixtures, press the Assign button on its own. The trackball will control pan and tilt of selected fixtures - see Trackball control.
Video preview screens (Diamond 9 only)
The three preview screens on the top right of the console can be configured to show NDI video streams, or can also be used as extra workspace windows.
To configure a screen, double press Open/View and window selection buttons will pop up on each screen, touch the type of window you want to configure the view. For NDI Preview select Video Preview (1 2 or 3 depending which screen you are setting). To select an NDI stream, tap on the screen and you will then see thumbnails of the available NDI streams to select. See Media Viewer in the Ai section for more details.
Mini Screen (Arena only)
The mini-screen can be used as a configurable workspace display just like the main monitor. To configure the screen double press Open/View and window selection buttons will pop up on the screen, touch the type of window you want to configure the view.
The Display button below the rotary encoders toggles through four fixed layouts for the Mini screen:
Workspace window(s) with encoder legends on the right
Workspace window(s) with macro button legends below
Fixed playbacks window - in this mode the first two rows of touch buttons are the same as the macro buttons below. This window cannot be moved to another screen, and other windows open on the Mini screen will move to the main screen when this layout is set.
Workspace window(s) fill the full screen, no button/encoder legends shown.
Compatibility Windows for Pearl Expert Shows
The "Fixtures and Playbacks" and "Groups and Palettes" windows allow you to access the preset fader handles in shows which have been programmed on the Pearl Expert.
When either of these windows is opened, there is a context button option to Move to workspace. This will move the handles from the compatibility window to the appropriate workspace window. You need to do this twice, once with the "Fixtures and playbacks" window selected, and once with the "Palettes and groups" window selected.